
How to Prepare Your Design for 3D Printing

How to Prepare Your Design for 3D Printing
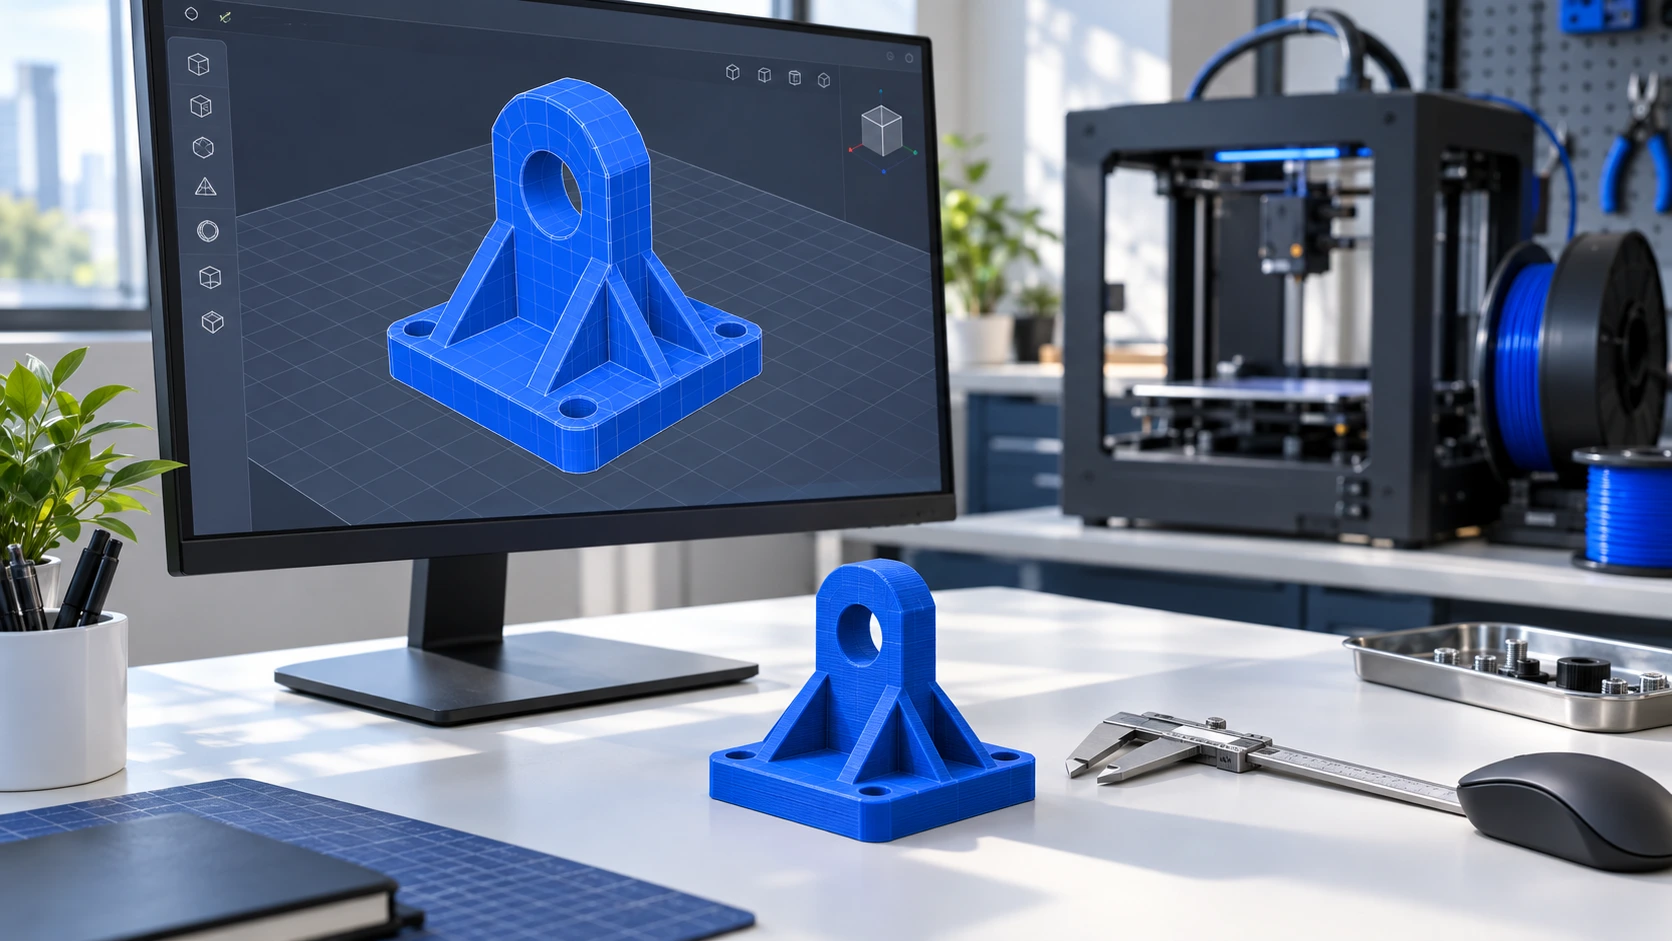
Before sending your design to a 3D printer, you need to make sure the 3D model is ready to print. A good design can help prevent printing problems and save material and time.
1. Choose the Right 3D File
Most 3D printing software supports formats such as:
- STL
- 3MF
- OBJ
For beginners, STL is one of the most commonly used formats.
2. Check the Size
Make sure your model has the correct dimensions.
For example, if you want to print a phone stand that is 10 cm wide, check that the model is actually set to 100 mm in your design or slicing software.
3. Make Sure the Model Is Solid
Your model should have proper walls and a closed shape.
Avoid:
- Open surfaces
- Missing faces
- Overlapping parts
- Very thin walls
- Unwanted holes
These problems can cause the printer to produce an incorrect object.
4. Choose the Correct Wall Thickness
Very thin walls can break or fail during printing.
The required thickness depends on the printer, nozzle, material, and design. If you are a beginner, avoid making extremely thin parts unless you know your printer can handle them.
5. Check the Model Orientation
The way you place the model on the print bed matters.
Good orientation can:
- Reduce support material
- Improve strength
- Improve surface quality
- Reduce printing time
For example, a model with a large flat bottom is often easier to print when that flat surface is placed directly on the print bed.
6. Add Supports When Needed
Some designs have parts that extend into empty space. These areas may need support structures.
Your slicing software can usually generate supports automatically.
Try to avoid unnecessary supports because they use extra material and need to be removed after printing.
7. Use a Slicer
After checking your 3D model, import it into a slicer.
Popular slicers include:
- Cura
- PrusaSlicer
- OrcaSlicer
The slicer converts your 3D model into instructions that the printer can understand.
You can set things like:
- Layer height
- Infill
- Print speed
- Supports
- Material temperature
- Wall thickness
8. Preview the Print
Always use the slicer’s Preview feature before starting the print.
Look through the layers and check that:
- All parts appear correctly
- Supports are where needed
- There are no missing sections
- The model fits on the print bed
Simple Checklist
Before printing, check:
Design → Size → Solid model → Wall thickness → Orientation → Supports → Slicer → Preview → Print
Following these steps will reduce common 3D printing problems and give you a better chance of getting a successful print on the first try.How to Prepare Your Design for 3D Printing
Before sending your design to a 3D printer, you need to make sure the 3D model is ready to print. A good design can help prevent printing problems and save material and time.
1. Choose the Right 3D File
Most 3D printing software supports formats such as:
- STL
- 3MF
- OBJ
For beginners, STL is one of the most commonly used formats.
2. Check the Size
Make sure your model has the correct dimensions.
For example, if you want to print a phone stand that is 10 cm wide, check that the model is actually set to 100 mm in your design or slicing software.
3. Make Sure the Model Is Solid
Your model should have proper walls and a closed shape.
Avoid:
- Open surfaces
- Missing faces
- Overlapping parts
- Very thin walls
- Unwanted holes
These problems can cause the printer to produce an incorrect object.
4. Choose the Correct Wall Thickness
Very thin walls can break or fail during printing.
The required thickness depends on the printer, nozzle, material, and design. If you are a beginner, avoid making extremely thin parts unless you know your printer can handle them.
5. Check the Model Orientation
The way you place the model on the print bed matters.
Good orientation can:
- Reduce support material
- Improve strength
- Improve surface quality
- Reduce printing time
For example, a model with a large flat bottom is often easier to print when that flat surface is placed directly on the print bed.
6. Add Supports When Needed
Some designs have parts that extend into empty space. These areas may need support structures.
Your slicing software can usually generate supports automatically.
Try to avoid unnecessary supports because they use extra material and need to be removed after printing.
7. Use a Slicer
After checking your 3D model, import it into a slicer.
Popular slicers include:
- Cura
- PrusaSlicer
- OrcaSlicer
The slicer converts your 3D model into instructions that the printer can understand.
You can set things like:
- Layer height
- Infill
- Print speed
- Supports
- Material temperature
- Wall thickness
8. Preview the Print
Always use the slicer’s Preview feature before starting the print.
Look through the layers and check that:
- All parts appear correctly
- Supports are where needed
- There are no missing sections
- The model fits on the print bed
Simple Checklist
Before printing, check:
Design → Size → Solid model → Wall thickness → Orientation → Supports → Slicer → Preview → Print
Following these steps will reduce common 3D printing problems and give you a better chance of getting a successful print on the first try.Before sending your design to a 3D printer, you need to make sure the 3D model is ready to print. A good design can help prevent printing problems and save material and time.
1. Choose the Right 3D File
Most 3D printing software supports formats such as:
- STL
- 3MF
- OBJ
For beginners, STL is one of the most commonly used formats.
2. Check the Size
Make sure your model has the correct dimensions.
For example, if you want to print a phone stand that is 10 cm wide, check that the model is actually set to 100 mm in your design or slicing software.
3. Make Sure the Model Is Solid
Your model should have proper walls and a closed shape.
Avoid:
- Open surfaces
- Missing faces
- Overlapping parts
- Very thin walls
- Unwanted holes
These problems can cause the printer to produce an incorrect object.
4. Choose the Correct Wall Thickness
Very thin walls can break or fail during printing.
The required thickness depends on the printer, nozzle, material, and design. If you are a beginner, avoid making extremely thin parts unless you know your printer can handle them.
5. Check the Model Orientation
The way you place the model on the print bed matters.
Good orientation can:
- Reduce support material
- Improve strength
- Improve surface quality
- Reduce printing time
For example, a model with a large flat bottom is often easier to print when that flat surface is placed directly on the print bed.
6. Add Supports When Needed
Some designs have parts that extend into empty space. These areas may need support structures.
Your slicing software can usually generate supports automatically.
Try to avoid unnecessary supports because they use extra material and need to be removed after printing.
7. Use a Slicer
After checking your 3D model, import it into a slicer.
Popular slicers include:
- Cura
- PrusaSlicer
- OrcaSlicer
The slicer converts your 3D model into instructions that the printer can understand.
You can set things like:
- Layer height
- Infill
- Print speed
- Supports
- Material temperature
- Wall thickness
8. Preview the Print
Always use the slicer’s Preview feature before starting the print.
Look through the layers and check that:
- All parts appear correctly
- Supports are where needed
- There are no missing sections
- The model fits on the print bed
Simple Checklist
Before printing, check:
Design → Size → Solid model → Wall thickness → Orientation → Supports → Slicer → Preview → Print
Following these steps will reduce common 3D printing problems and give you a better chance of getting a successful print on the first try.